I’ve been sewing forever (> 20 years), but I rarely sew my clothing…I usually stick with costuming or mild home dec. I think it’s because things never turn out exactly the way I imagine them. I am determined to do more garment sewing though, I have so much fabric in my stash that needs to see the light of day (if only so that I can justify buying more fabric for my stash). So I’ve started with a pattern & fabric I paired together in my mind a couple of years ago: Simplicity 2587 & Liberty of London Ianthe Tana Lawn.


I have had this fabric in my stash for a good 5+ years. I’ve been so scared to sew it into something, because then I can’t sew it into anything else (my typical problem with sewing fabrics from my stash…). I could go on & on about Liberty of London fabrics, but the basics are: they are gorgeous, lovely to work with, and expensive. Here’s the Liberty of London site, but their international shipping charges are insane (I do love drooling over their site though). Both Fabric.com & Purl Soho carry them (Purl Soho has an amazing selection). However, the only place I’ve found the Ianthe fabric while quickly browsing is here, ebay & etsy. I’ve never ordered from Waechter’s, so I can’t say anything about the retailer other than that they seem to carry a good selection of the newer Liberty of London art fabrics (although more expensive than Purl Soho).
Anyway, so this pattern took many alterations, but I knew it would when I started. My measurements are pretty right on for an 18 in commercial patterns currently, but all commercial patterns are designed for a B-cup (which I have not been since high school); therefore, I do a full bust adjustment on any pattern I make–I use the Palmer/Pletsch Fit for Real People book. Here are a number of blogs that have gone through the alteration better than I can (especially because I did not take pictures while altering or sewing):
Pink Chalk Studio: Enlightenment + the Full Bust Adjustment
Sew L.A.: Full Bust Adjustment, aka FBA
Sincerely Yours, Kate: My First Full Bust Adjustment
And here’s a blog that I love that has the links to the previous three, plus links for a small bust adjustment:
Gertie’s New Blog for Better Sewing: Helpful Links for Bust Alterations
Also, Here’s a link to the alteration on a gathered bodice…the closest to what I actually did (wish I had seen it before doing mine!):
Lazy Stitching: Full Bust Adjustment: Gathered Bodice
If I were to just make the pattern in a size 18 without making alterations the armholes would be huge & the top would gape strangely above the bust, plus it still wouldn’t come down under the bust properly. Also, the back would be too big. So, instead, I start with a size 12 front bodice as my chest measurement (above the bust) is 34″ and drastically alter patterns from there. I’m intimately familiar with this alteration, but it took a slightly different form in a bodice with gathering under the bust. Essentially, I eliminated the horizontal dart created & moved it to a vertical dart that I didn’t sew (the extra fabric went into the gathered area). I actually did two 1″ alterations, instead of one 2″ alteration as I was kind of figuring out what to do as I as working on it. I didn’t have to do the full 3″ alteration I usually do because eliminating the horizontal dart gave me the extra I needed to add up to 3″ (this refers to the amount I need on each side..I need a total of 6″ added to the bust). I also had to add a little bit of length to the front neck binding to match the front neck.

I fit the pattern to my body first before I start sewing & found that I did need the size 18 under bust midriff band, so I went with that & a size 18 front & back skirt. However, I couldn’t quite tell what size back bodice I needed based solely on pattern fitting. I initially went with the size 18, but made a muslin first (I always do) & found that I needed to size down to a 16. I also eliminated the zipper/back seam by cutting the back pieces on the fold (after drawing a new center back subtracting the seam allowance). The armhole binding/strap was a little tricky since I was using different sizes for everything & had altered the bodice, but went with a strap cut at the size 12 line in the front & the size 14 line in the back after both pattern fitting & muslin fitting.
I also found on the muslin fitting that there was no way I could follow the directions regarding the front center. The pattern is designed to have a very deep V with the front bodice pieces meeting at the center. I overlapped mine for a tiny bit of modesty (it’s still really deep) and a better fit. It allows me to wear my regular bra with the dress…a definite plus!
I am so happy with how the dress turned out & have already made a top & another dress from the altered pattern (with another one waiting in the wings).
I still haven’t gotten around to having a picture of me in the actual dress taken, even though I’ve worn it at least 4 times since making it. Will update when I do get one taken.
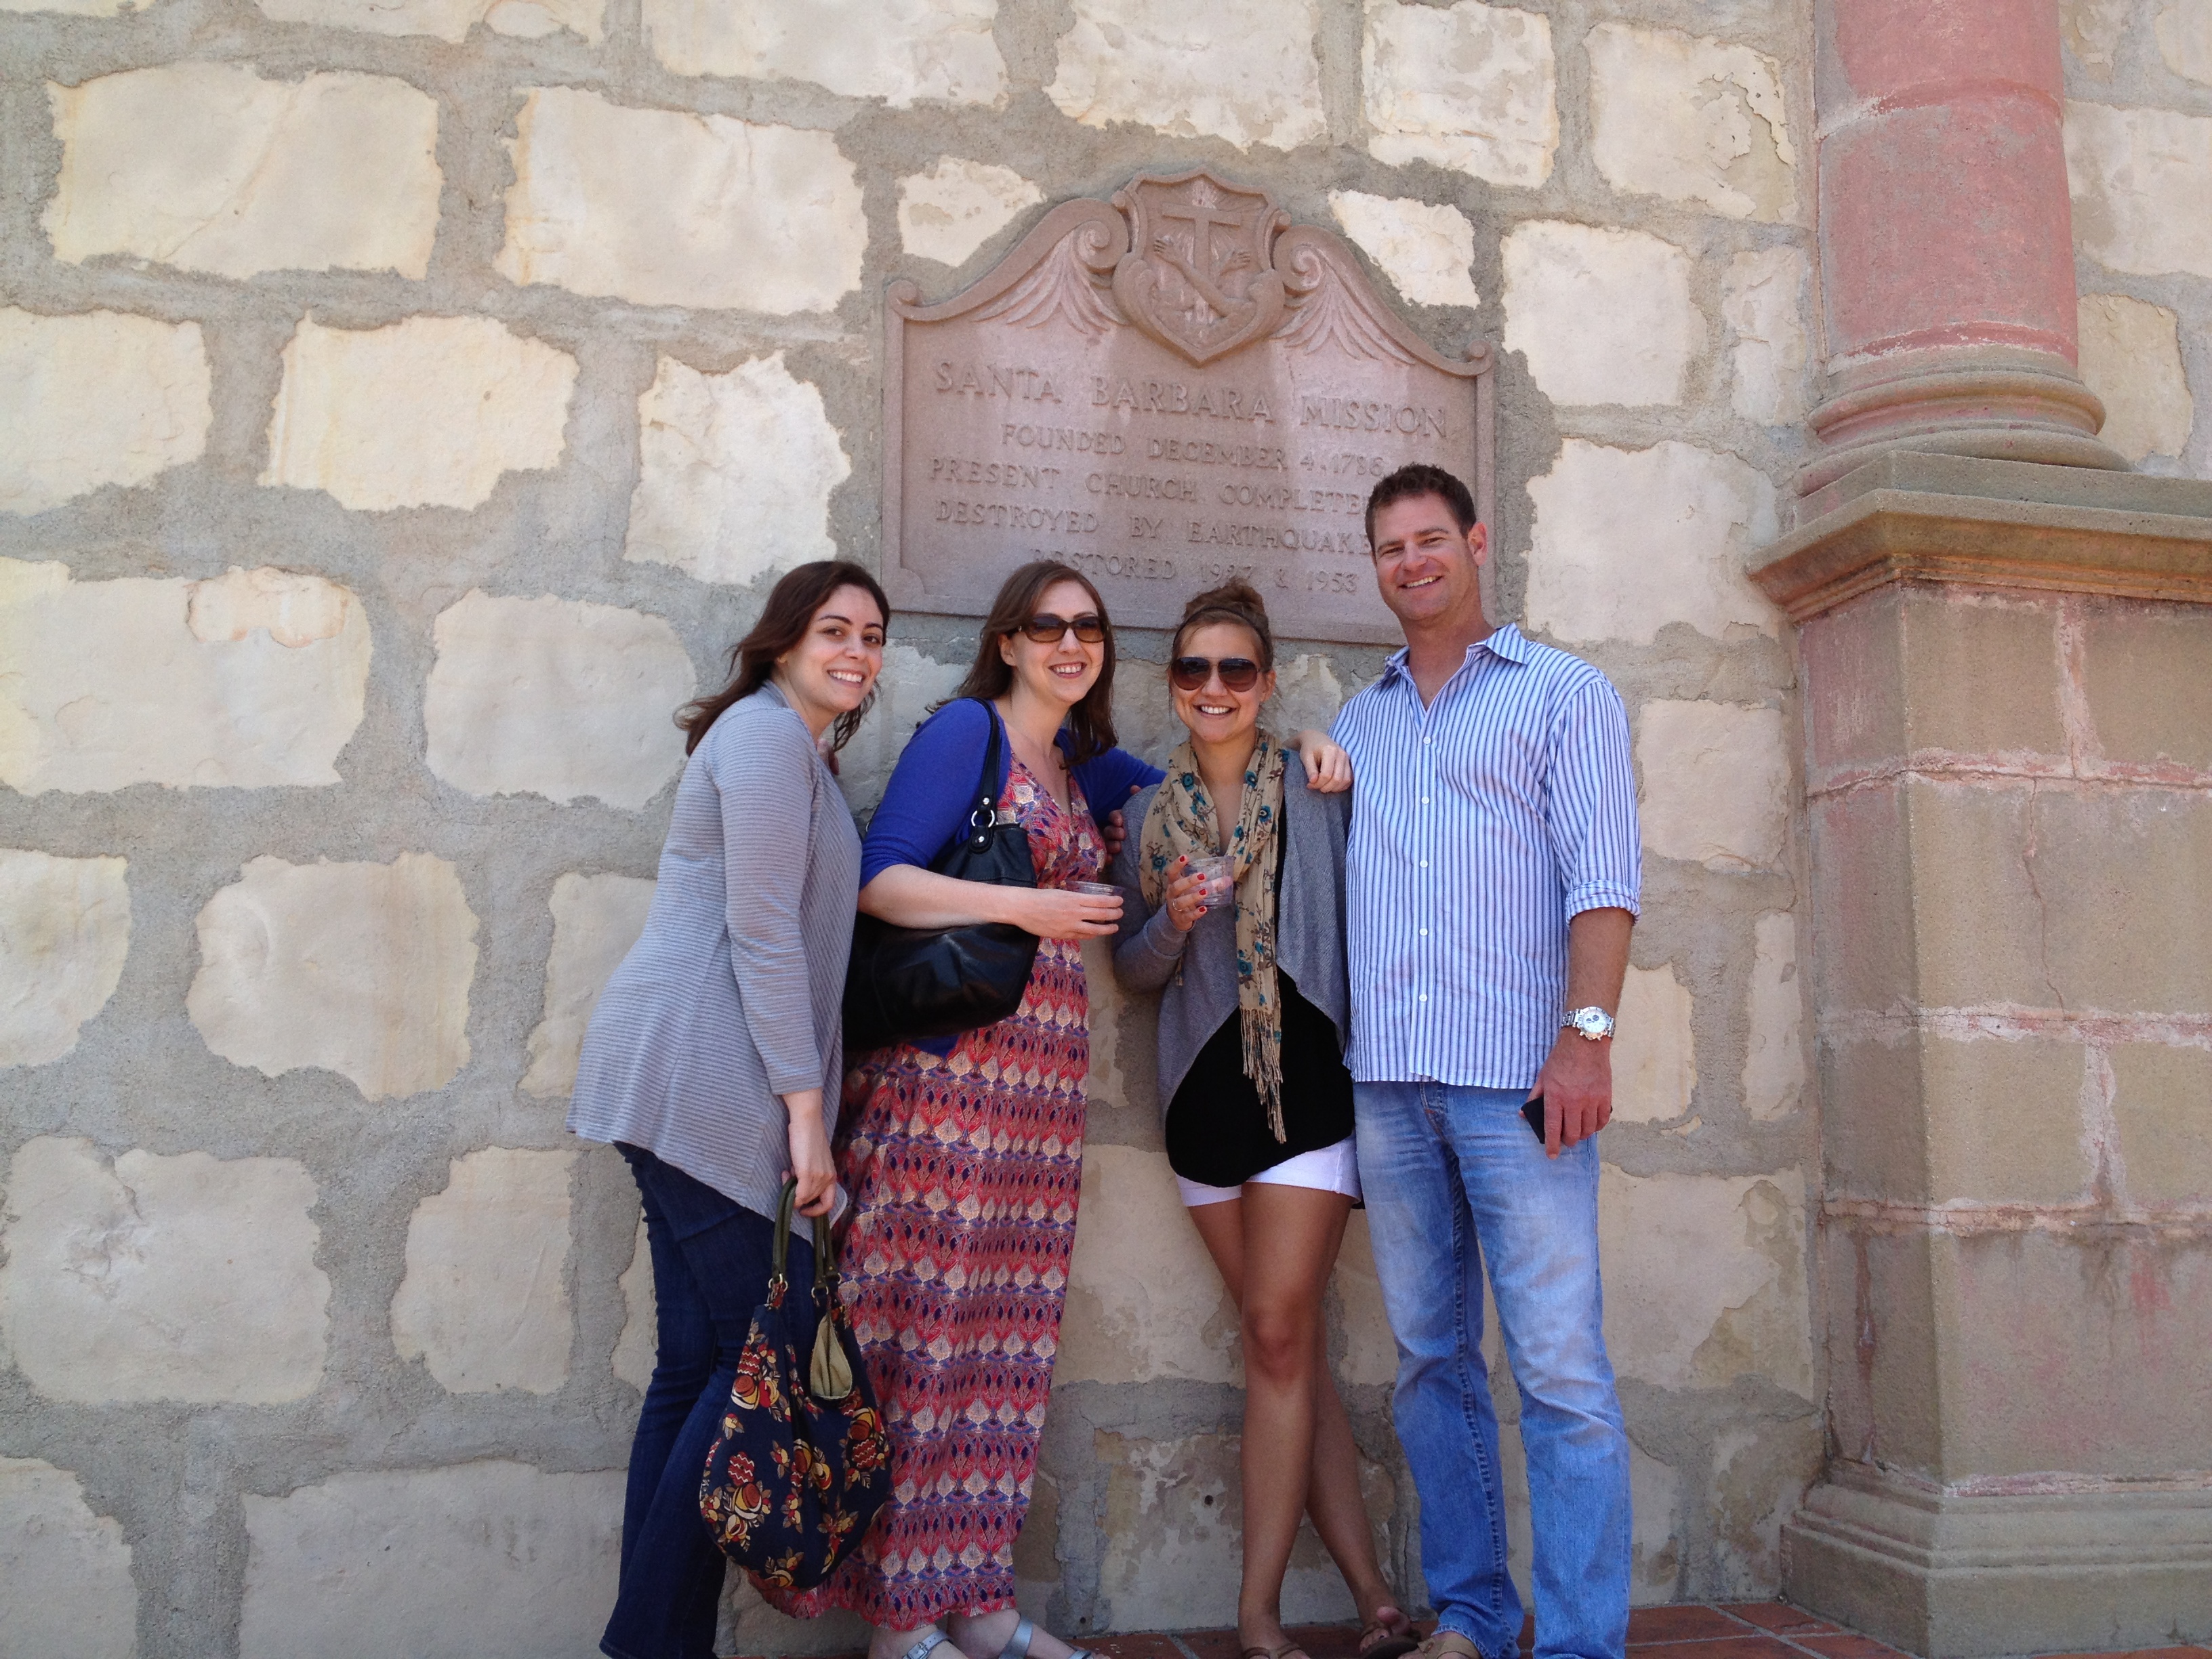
Updated 5-25-13: I finally got a pic of me in the dress!! It’s been almost a year, but I’ve worn it to death & never had a pic. Finally today I went to the SB Mission with my best friend & had pics with some people we met there as well as one with her.